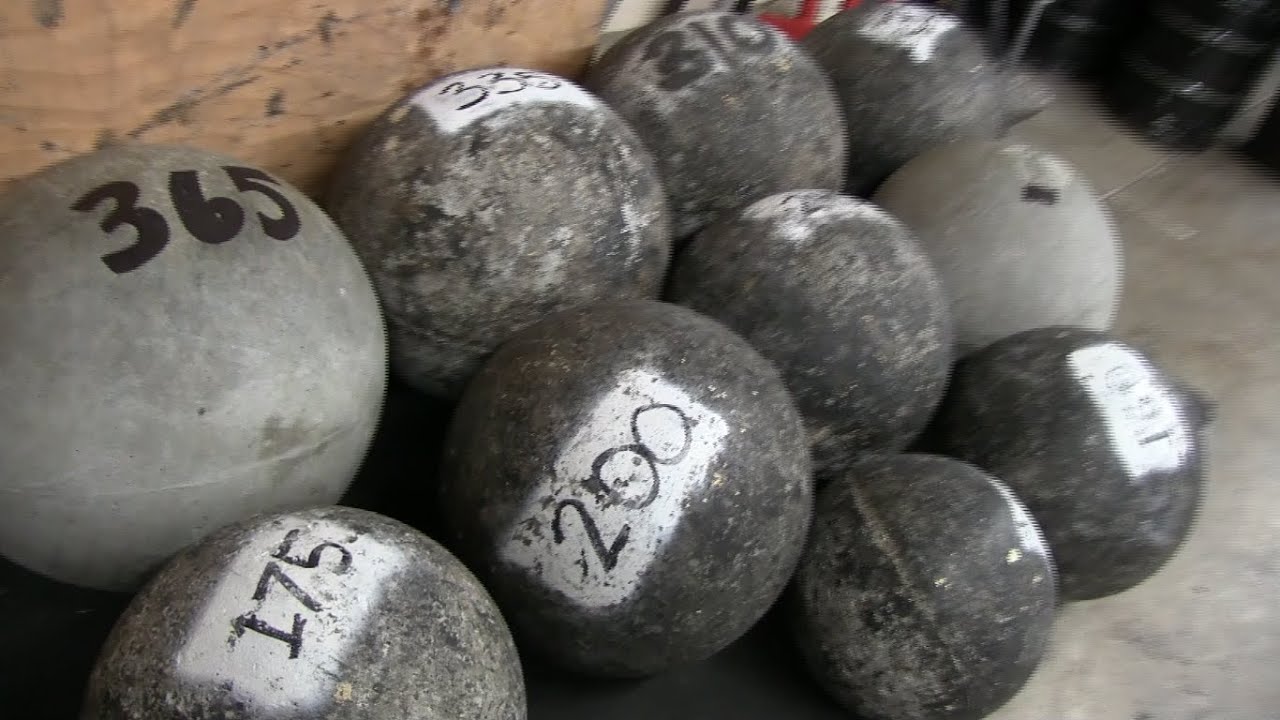
This is part one of a two-part article on Heavy Sandbag Training. In part one I will cover specifics of building sandbags but will not talk about training, yet. This article is based on my personal experience with sandbags and I will share with you any mistakes I made in the hope you can avoid the same. This article is geared toward someone who is new to sandbag training and who wants to work with weights from 100lbs and up. For people working with lighter weights, the tips on building sandbags may be helpful but you will find more at any of the online sandbag retailers.
This is the year of the sandbag: folks are talking about them, coaches are drilling them, even big budget films are shaping up their extras with this unorthodox training method. Now it’s your turn.
Being that it’s your first year of sandbag, let me try to clear up a little confusion. Sandbags are a subset of what could be called odd object lifts, Dinosaur Training or Turbulence Training. Sandbag training isn’t the whole of any of these things nor do any of these fully encompass sandbags. Sandbags are physical training tools that are malleable in your routine more so than most things and yet harder to train with as well. Sandbags represent strength training and weightlifting at their purest. There are no federations, clubs, suits, belts or even rules. Sandbags remind us that in the real world not every object comes with a perfectly balanced 1″ handle, that things are awkward and sometimes even seem to be built to prevent their being lifted.
Hardware:
- Outer bag
- Middle bag (optional)
- Inner bag
- Sand
The outer bag is probably the one ingredient with the most options. Military duffle bags are a popular choice and for a good reason. They are the cheapest bag out there that is durable to take the punishment you’re gonna dish out. If you go this route, cut off any buckles and probably the straps too. Depending on the duffle you get, there is a hook at the top to keep it closed. I would cut this off too and consider using rope with a knot in it or duct tape. The reason you are destroying your nice new bag is that your face and body is going to be up close and personal with this bag and there will be weight, sliding and dropping, those actions combined with the aforementioned hazards lead to wounds and lacerations. There are a couple commercially available options out there too. Ironmind makes a great bag that can be bought separately or as part of kit. I personally used this for my first attempts at sandbag training and was very satisfied. There are a couple other manufacturers of sandbags out there. So far, none of them have been designed to hold 150 pounds or more, for that reason, they are not an option for me.
The middle bag is not for everyone. The middle bag is your basic sandbag, the mesh kind that are used keep water at bay, on levees and such. You can order these online or buy them at your local hardware store, you can buy several for a dollar in most cases. I made use of these but you don’t have to. These come in really handy if you are still experimenting with weights. I’ll cover the difference more in a moment.
The inner bag is always a good idea. This is basically a plastic bag, usually a trash bag, often several of them. The basic idea is that no cloth bag is very good at keeping sand inside. It leaks, it gets in your hair, clothes and carpet. This won’t kill you but it gets old. Your sandbags lose weight over time this way too. I actually did not use these in my first pass at sandbags and was just fine but I’m tired of sand in my car so you can bet I’ll use them next time.
The last thing you need is some sand. It’s as easy as going to the hardware store and buying some. I found it in the aisle with garden and landscape supplies. Ask around if you need help. I used play sand for about $5/50lbs. Some people choose to use pea gravel. It’s not gonna be as dense or roll as easily but it works really well, leaks less and is less dusty if you didn’t use an inner bag. Obviously you could go out and find sand on the ground too, that is up to you. Personally I like a clean source. Any stick or sharp rocks will wreck your bag and will wreck you, possibly.
You’ve got your equipment, it’s time to get down to the business of building sandbags. There are two ways you can do this,as I alluded to above, I’ll talk about them both and you can pick:
Process
- adjustable weight bags
- one bag per weight
Adjustable bags are the way I chose to go the first time and I recommend them to new sandbaggers. It’s hard to know how much weight you will need and as with any new training system you will progress quickly. It’s a good idea for every sandbagger, new or veteran to have on set of adjustable bags. Just like you wouldn’t do most of your weight-room training with fixed barbells for reasons of space and cost, you should not do most of your sandbag training with fixed bags. Building these is simple. Place a kitchen size trash bag in a sandbag (called a middle bag above) fill it with one fifty pound bag of play sand. Make about four of these. You can then make a 25lb bag if you would like, just for the variety. If you want to get really delicate you can even make five and ten pound bags. For those I wouldn’t even waste a sandbag, a gallon size Ziploc wrapped in duct tape does the job. You now have a sandbag capable of going from 50 – 200 lbs in an instant and depending on how many of the optional bags you made it can be changed by 25, 10 or 5 lbs at a time. I found that anything less than 25 lbs really isn’t noticeable and thus not really worth the effort. I found that I could carry my sandbags all around in the trunk of my car and make whatever size bag I wanted on-site when I was ready to train. I would not have been able to do this with the following kind of sandbag.
The more common approach seems to be taking a big bag, like a duffle, and lining it with a trash bag or two and dumping in sand until your heart is content. As I mentioned above, play sand comes 50lbs/bag so measuring is really easy, desired weight divided by fifty is the number of bags to dump, don’t get too picky about the weight. If you want some funky weight, like a bag that matches your exact bodyweight, you’ll need to beg, borrow or steal a bathroom scale. A 5 gallon bucket and an ice scoop can make this easier. Once it’s full, duct tape the top of the trash bag, close the outer bag and use your closing method of choice. Once again, duct tape is a good option, kinda hard to grab but closes the bag up really well without sharp points. With this take on bag building you can build a real nice challenge bag. If you really want to clean and press 300 lbs, build yourself a 300lb monster and give it a shot every now and again, unfortunately, that also means you have to move it so I hope you have a nice quiet corner to lean it in. These bags avoid a major pitfall of adjustable bags in that you can fill them with more weight without really filling them full. The biggest fault of these bags is that they are a fixed weight. It’s not easy or a good idea to open the bag up every week, throw in a pound of sand and close it back up.
No matter what type of sandbags you are using, bear in mind why you are training with sandbags. They’re not just heavy, they are loose and trying to run, slide and pour away from you. If you stuff your bag totally full at any level (inner bag, middle, outer) or if you overly tape it, this goes away. A stuffed sandbag is still an interesting and awkward lift. Don’t not lift a bag because it is full but for the purpose of building your own bags, let them be loose. You’ll understand when you try to lift it and it literally pours out of your hands.
This article should have provided you more information than you cared to know about making sandbags. That makes this the perfect time to round up the equipment and build some. This is also convient for you because there is a training article that will follow it soon. So prepare yourself…
Also see : Heavy Sandbag Training II


0 Comments